How to migrate an existing WordPress website
Table of Contents
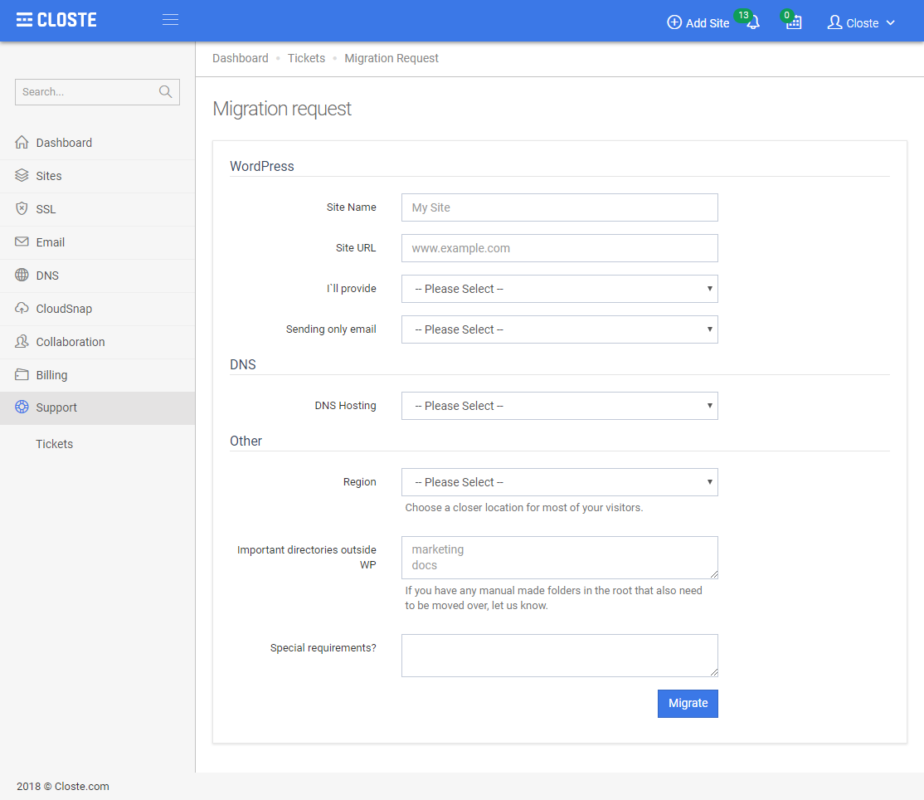
If you already have a website and want to migrate it to Closte, the whole process is simple and free of charge. Go to Sites->Add Site and select Migrate existing WordPress site. You will be redirected to the new page where you need to fill up the migration form.
If you are starting to use Google Cloud DNS, we will create new DNS zone in your account and if you provided us access to the current DNS hosting, we will clone all records otherwise you need to review the crawled DNS records and update the domain nameservers. Check how to Clone all existing DNS records and Change domain nameservers.
If you want to keep using current DNS provider, we will continue with the migration process and guide you at the end of the process about the required DNS changes.
In most cases, we use WordPress backup plugins to backup your website and in rare cases, we may ask for FTP/Server access. The backup contains database and only wp-content folder. If you have any other important file or folder outside wp-content folder, let us know.
In this step, we try to make the best settings for hosting your website on Closte. Here are some general rules:
- We disable any backup plugins because we have built-in server-side incremental backups.
- We disable any security plugins because we have built-in server-side security.
- We disable any other CDN/Proxy services.
- We will use Litespeed for full page cache with the default settings.
- We set up Google Cloud CDN, Object-Cache, and OPcache.
- Tune the system power and some PHP values.
- If we have a DNS control and the site is using HTTP, we will move it to HTTPS otherwise, you will need to request and install SSL certificate.
If you started to use Google Cloud DNS, we will set up everything as we have full control. The only thing you need to review it is the From email address prefix, the default one is contact.
You may need to wait for a few hours to preview the site from our services, known as DNS propagation.
You need to configure a few things in this order as we do not have the DNS control.
After the DNS changes, you may need to wait a few hours for the DNS propagation.
Google Cloud does not allow sending emails on standard SMTP ports, so there are few possible options to allow your site to send emails.
- Set up sending only email service: We will set up sending only email service.
- I have email service allowing sending emails via non-standard ports: You already using email service allowing sending emails to non-standard SMTP ports like 2525.
- My WordPress does not send emails: The website does not send any emails
For better performance, uptime, support and platform compatibility we recommend Google Cloud DNS. However, you can keep using your current DNS provider and just update the DNS records pointing to the Closte services.
No, there isn’t any downtime.
In most cases, the migration process will start and be completed within 24h.
Yes, check the following link: DNS propagation.