Domains & DNS setup
Table of Contents
Adding or modifying site domains is an easy and fully automated process on the Closte platform. In Site->Domains page, you have a full overview of all domains pointing to your site as well as several more useful information’s related to SSL and DNS. When you add a naked domain our system automatically adds the WWW hostname as a redirect hostname and vice versa.
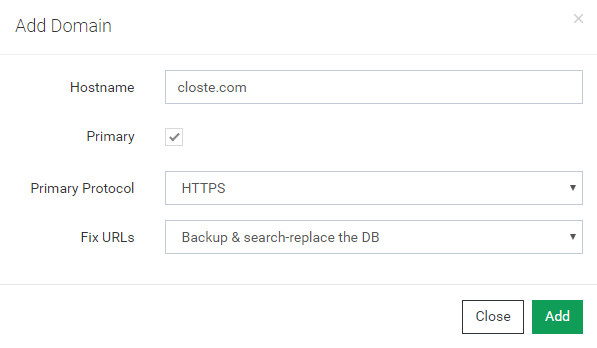
To change the primary domain, go to Site->Domains->Add Domain and check the Primary Domain option. We will update the SITEURL and HOMEURL in wp-config.php file based on your domain setting and also update the database URLs if Fix URLs option is selected otherwise you need to manually search-replace the database via plugin or WP-CLI.
For example, if example.com is primary hostname with HTTPS as protocol, your primary site URL is:
https://example.com
Here are some general tips to review the site after changing the primary domain.
- Not all URLs in the database can be replaced e.g Slider Revolution images.
- We do not modify any files that still may have hardcoded link to your old domain e.g custom CSS file that still loads images from the old domain.
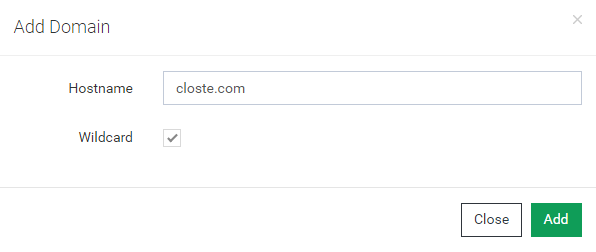
To add wildcard domain, go to Site->Domains->Add Domain and check the Wildcard option.
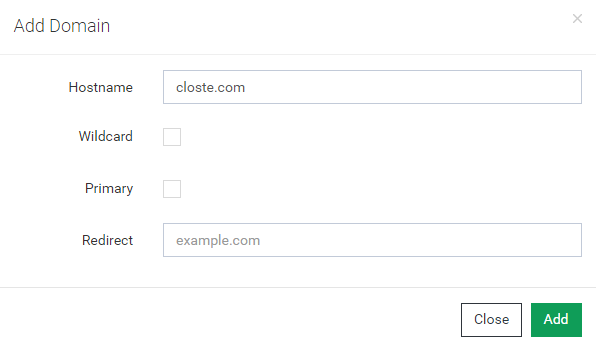
A domain alias is just a pointer to your site and usually, this is useful for multisite subdomain WordPress. To add domain alias, go to Site->Domains->Add Domain, populate the Hostname field and leave all other options unchanged.
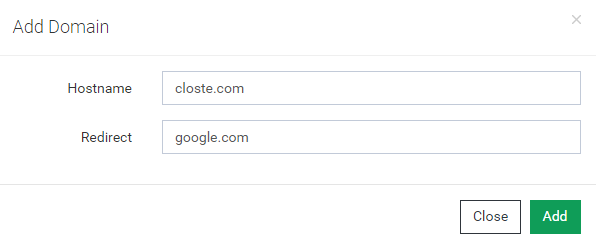
To add redirect domain, go to Site->Domains->Add Domain, populate the Hostname and Redirect fields.
We will redirect all requests from Hostname to Redirect domain, including the query strings.
Hostname: example.com
Redirect: closte.com
****************
example.com -> closte.com
www.example.com -> closte.com
www.example.com/test -> closte.com/test
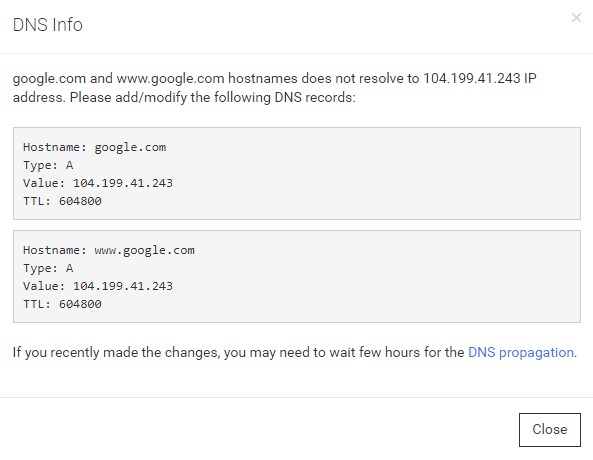
Every hostname listed in Site->Domains must have A record type with site DNS IP address as found in site dashboard. Go to Site->Domains page and our system will warn you about all required DNS changes.
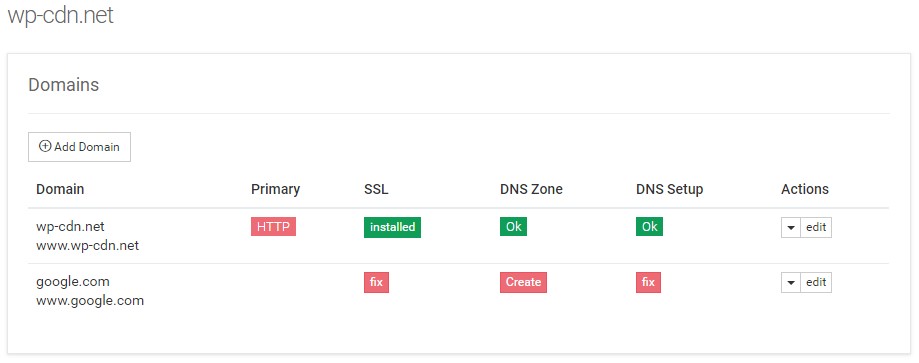
Clicking on the red fix button of DNS Setup column will show you a pop-up window with the required DNS records. If you are using our DNS powered by Google Cloud DNS, check the following link how to add A record otherwise you need to make this DNS changes into the third-party DNS provider.
Once the DNS records are changed you need to wait a few hours for the DNS propagation and in most cases, your next step is to create and install a free SSL.
